SETTING UP YOUR
POWERSTATION
HARDWARE SETUP

Step 1
Place the Omni 20’s into the open bays with the AC side facing upwards.

Step 2
Press the power button on each Omni 20.
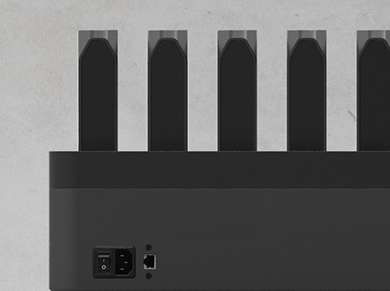
Step 3
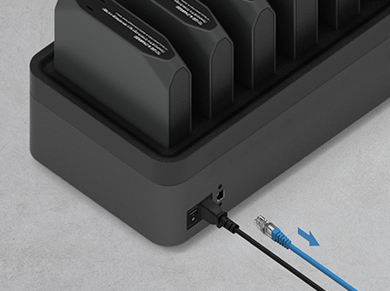
Plug the AC power cable into the base of the Power Station and connect the other end to the wall socket.
If the station is powered on, each power bank LCD screen will display a battery icon. If the battery icon does not appear, try pulling the charger out of the bay and placing it back into the bay and make sure it is fully seated. If the problem persists, contact support at powerstation@omnicharge.co.
HOW IT WORKS
SOFTWARE (SMARTCENTER) SETUP
Access to the SmartCenter will allow you to choose how to authenticate users and customize the software mode, and provide information on usage statistics, station connectivity status(es) and inventory management. If an email from our Customer Care Team has not been sent, please email powerstation@omnicharge.co
CONNECT YOUR POWER STATION TO THE INTERNET
Ethernet ( Step 1 – 3 )
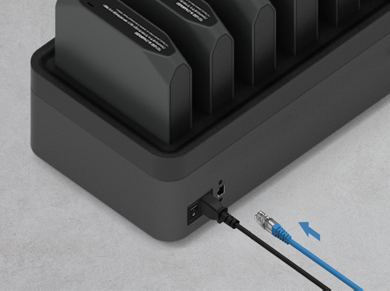
Step 1
Plug the station into ethernet that will provide a DHCP lease and access to the internet.
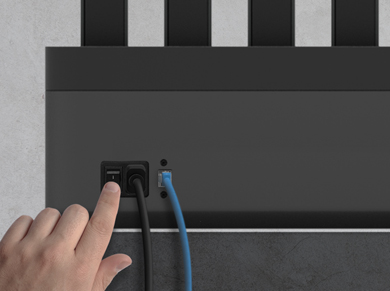
Step 2
Power on the station.

Step 3
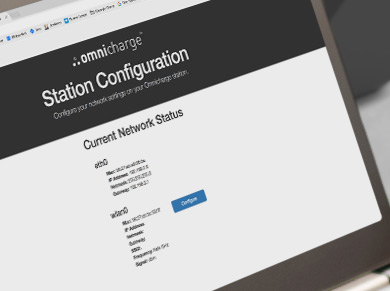
Log into the SmartCenter with credentials provided by the customer success team and confirm that the station is listed as online.
WiFi ( Step 4 – 6 )
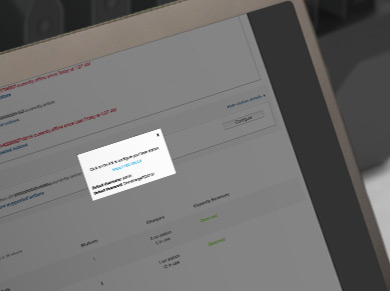
Step 4
Click the configure button next to the station (not shown if station is offline)
Step 5
Log in to the wifi configuration page and setup your wifi.
Step 6
Unplug the ethernet and deploy the station.
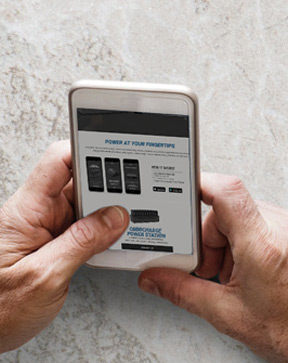
POWER AT YOUR FINGERTIPS
Using the intuitive mobile app, users can seamlessly borrow portable power and organizations can keep track of chargers for theft prevention, making the Omnicharge Power Station a truly self-service solution.
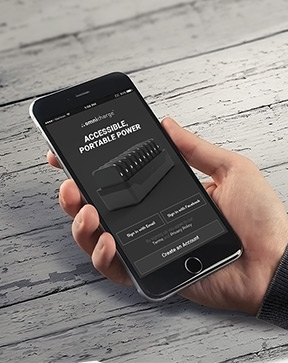
MOBILE APP
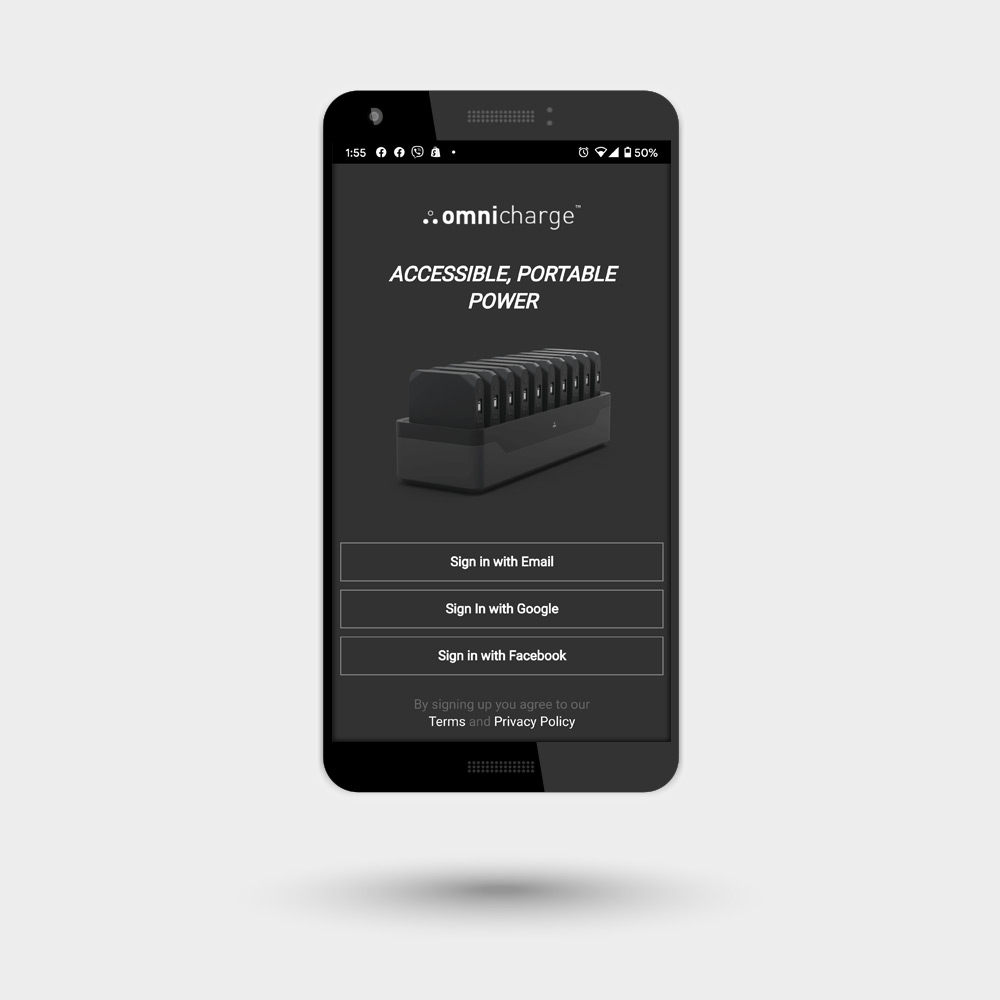
1. Download the mobile app
2. Create an account
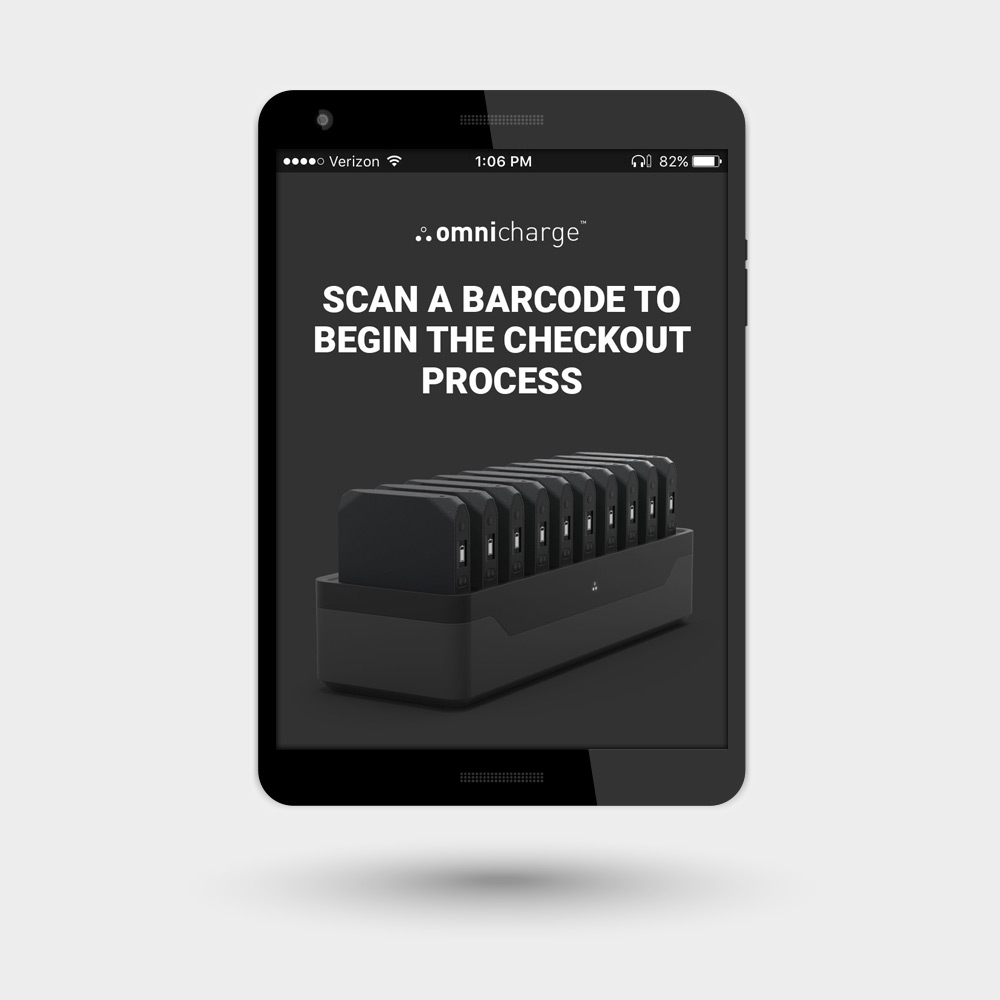
3. Activate an Omnicharge
4. Return it to the station when finished


KIOSK APP
1. Download the Kiosk app
2. Enter email address
3. Input onetime password
4. Pick up blinking Omnicharge
5. Return it to the station when finished
TESTING WITH MOBILE APP
Step 1
To test the chargers, download the Omnicharge mobile app onto a smartphone or tablet. Visit omnicharge.co/app to download.
Step 2
Once the app is downloaded, create an account which can be done with either an email, Google or Facebook.

Step 3
Prior to activating a charger, valid debit/credit card information will be required for collateral purposes.
* Step 3 is optional, based on how the customer wants their chargers configured.

Step 4
After account creation, follow the remaining app instructions to activate a charger. Once activated, the charger should power on and allow devices to be charged up. (Rental receipts are emailed out to renters each time a charger is obtained with information on when the it’s due back to the station)